

Introduction
A coffee maker that leaks water from the bottom usually has a loose seal, blocked valve, cracked water tank, damaged tube, or internal leak. The timing of the leak gives the best clue. Water that appears while brewing often points to a hose, pump, valve, or seal. Water that appears while the machine is off may come from the reservoir, tank valve, or a crack.
Unplug the coffee maker before checking it. Water and electricity create a shock risk. Do not use the machine again until you know where the water comes from and the base is dry.
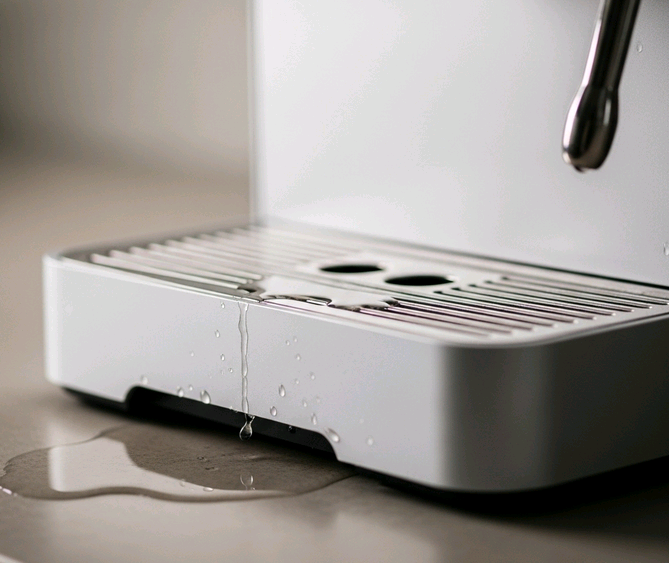
Source: dmcoffee.blog
First, Find Out When the Leak Happens
The leak pattern can narrow the problem before you remove a single screw.
| When you see water | Likely causes |
|---|---|
| As soon as you fill the tank | Cracked reservoir, loose tank valve, poor tank seating |
| While the coffee maker heats | Split tube, loose hose, failed pump seal |
| During brewing only | Blocked valve, loose connection, overflow, damaged seal |
| After brewing | Water left in the brew path, poor drainage, cracked internal part |
| Even when switched off | Reservoir leak, tank valve leak, or stored water escaping |
| Only when the carafe is removed | Overflow from the filter basket or brew basket valve |
Place the coffee maker on a dry towel. The towel can show the first place water reaches the counter, but it may not show the true source. Water can travel along the inside of the machine before it drips from the base.
Check the simple causes first
- Unplug the machine.
- Remove the carafe, filter basket, and water reservoir.
- Dry the counter and the outside of the coffee maker.
- Fill the reservoir with a small amount of cold water.
- Wait several minutes.
- Look for drops under the reservoir or at the tank valve.
- If the reservoir stays dry, add water to the machine only as the manual permits.
- Watch the bottom during a short brew cycle while standing nearby.
Stop at once if you smell burning, see smoke, hear sharp electrical sounds, or notice water near the power cord or outlet.

Source: firstgradeappliances.com
Common Reasons a Coffee Maker Leaks From the Bottom
1. The water reservoir is cracked
A plastic reservoir can crack after a drop, hard impact, or long use. A small crack may leak slowly at room temperature. Warm water can make the leak worse because the plastic expands slightly and the water moves more freely.
Remove the tank and inspect it under bright light. Check the bottom corners, handle area, seams, and the opening around the valve. Fill the tank over a sink, then wait for several minutes.
Do not patch a cracked reservoir with household glue. The repair may fail when exposed to heat and water. A replacement tank made for the exact model is the safer fix.
2. The reservoir valve is dirty or stuck
Many removable tanks have a spring-loaded valve on the bottom. The valve opens when the tank sits on the coffee maker. Coffee oils, mineral scale, or debris can stop it from closing fully.
With the tank removed, press the valve gently over a sink. It should move smoothly and stop water flow when released. Do not force it with a sharp tool. A damaged valve can create a larger leak.
Clean the valve and the matching seat with warm water and a soft cloth. If the manual allows it, use a mild cleaning method recommended for that model. Replace the tank if the valve remains loose or drips after cleaning.
3. A hose or tube inside the machine is loose
Automatic drip coffee makers move water through small tubes. Heat and age can make these tubes stiff, split, or pull away from their fittings. A loose tube often causes water to leak only during brewing.
This type of leak may appear from the bottom even though the failed tube is higher inside the unit. The leak can also reach the electrical parts.
Do not open the housing unless you have the skills to work safely with electrical appliances. Unplugging the machine does not remove every risk. Some parts may hold heat, and incorrect reassembly can cause a fire or shock hazard.
4. A pump, valve, or seal has failed
Some coffee makers use a small pump or one-way valve to move water through the heating system. A seal around that part can wear out. Mineral scale can also prevent a valve from closing correctly.
A failed internal part may cause:
- Water under the machine during a brew cycle
- Less coffee than expected
- Longer brewing time
- Gurgling or unusual pump sounds
- A hot smell or visible steam in the wrong place
Internal repairs vary by model. If the coffee maker is under warranty, contact the manufacturer before opening it. If it is older and inexpensive, replacement may cost less and reduce safety risk.
5. The brew basket is overflowing
Not every bottom leak starts at the base. A blocked filter, too much coffee, a wrong filter size, or a brew basket that is not seated correctly can make water spill over the top.
Check that:
- The paper filter fits the basket.
- The filter is not folded over or collapsed.
- The basket is fully inserted.
- The coffee grind is not extremely fine.
- The machine is not filled above its marked limit.
- The brew basket valve can move freely.
Water from an overflow can run down the outside and collect under the coffee maker. The result looks like a base leak.
6. The carafe is not releasing water correctly
Some drip coffee makers have a valve under the filter basket. The carafe presses this valve when it sits in place. If the carafe is missing, misaligned, or the valve is stuck, water may back up and spill.
Make sure the carafe is the correct model. A similar-looking carafe may sit too low or too high. Clean the valve area and check for coffee grounds. Never bypass the valve with a tool.
7. Mineral scale is blocking the water path
Hard water leaves mineral deposits inside a coffee maker. Scale can affect valves, tubes, and heating parts. It may cause slow brewing, sputtering, or water to escape from a weak seal.
Run a cleaning cycle only with the product and method listed in the owner’s manual. Some manufacturers allow a descaling solution. Others give different instructions. Do not assume that vinegar is approved for every machine.
Cleaning may solve a valve blockage. It will not repair a cracked tank, split tube, or worn seal.
Source: cookrm.com
How to Troubleshoot the Leak Safely
Follow these steps in order. They begin with checks that need no tools.
Step 1: Disconnect power
Unplug the coffee maker from the wall. Do not rely only on the power button. Move the machine away from the outlet and wipe up standing water.
If water reached the plug, outlet, or power cord, do not use the outlet until it is dry and safe. Get help from a qualified electrician if the outlet shows damage, heat, or burn marks.
Step 2: Empty and inspect the removable parts
Remove the water reservoir, filter basket, carafe, and any lid that comes off normally. Look for:
- Cracks
- Warped plastic
- Loose seals
- Coffee grounds in valves
- Mineral deposits
- Parts that do not sit flat
Wash removable parts with warm water and mild dish soap unless the manual says otherwise. Dry them fully before testing.
Step 3: Test the reservoir by itself
Fill the reservoir over a sink. Set it on a dry towel or hold it above the sink. Watch the valve and seams for several minutes.
If it leaks away from the coffee maker, the reservoir or its valve is the main suspect. If it stays dry, place it back into the machine and check that it sits level and locks into position.
Step 4: Check for an overflow
Use a clean filter and a small amount of coffee. Do not fill the water above the marked line. Start a short brew cycle only if the machine has no electrical damage.
Watch the area around the filter basket. If water rises too high or spills over, stop the cycle. The problem may be the filter, grind, basket, carafe, or flow-control valve rather than the base.
Step 5: Run a cleaning cycle if scale is likely
Scale is more likely when the coffee maker brews slowly, makes loud popping sounds, or has not been cleaned according to the manual.
Use the manual’s cleaning instructions. Rinse with fresh water as directed. Then inspect the base again. If the leak continues, cleaning has not fixed the underlying problem.
Step 6: Decide whether to repair or replace
A removable tank, carafe, filter basket, or seal may be replaceable. An internal tube, pump, or heater usually needs service by the manufacturer or a trained appliance repair worker.
Stop using the coffee maker if:
- Water reaches electrical parts.
- The cord is hot, cracked, or damaged.
- You smell melted plastic or burning.
- The machine trips a circuit breaker.
- The housing is cracked.
- The leak continues after basic checks.

Source: smarthelperguides.com
Leak Symptoms and the Best Next Check
Use this table to avoid replacing the wrong part.
| Symptom | Most likely area | Best next check |
|---|---|---|
| Water leaks with the machine off | Reservoir or tank valve | Test the filled reservoir over a sink |
| Water appears only during brewing | Internal tube, pump, or valve | Stop use and arrange service if the leak is inside |
| Water spills near the filter basket | Filter, grind, basket, or carafe valve | Use the correct filter and reseat the basket |
| Water comes from one corner of the tank | Crack or bad tank seal | Inspect the tank under bright light |
| Coffee maker brews slowly, then leaks | Mineral scale or blocked valve | Follow the manual’s cleaning cycle |
| Leak began after moving the machine | Loose part or cracked plastic | Check tank seating, carafe position, and visible cracks |
| Leak appears after descaling | Loose scale or weakened seal | Rinse as directed and stop if the leak remains |
The most useful distinction is removable part versus internal part. A removable part can often be inspected and replaced without opening the machine. An internal leak has a higher safety risk and usually needs professional service.
How to Prevent Future Leaks
Use the water level marks and avoid overfilling the reservoir. Extra water has to go somewhere, and it may enter parts that are not meant to hold it.
Clean the filter basket and tank valve often. Coffee grounds can block small openings. Mineral deposits can stop valves from sealing.
Handle the reservoir and carafe with care. Do not drop them or force them into place. Avoid lifting the coffee maker by its tank, lid, or power cord.
Follow the cleaning schedule in the owner’s manual. Cleaning too rarely can allow scale to build up. Using an unapproved cleaner or method can also damage seals or leave residue.
Store the machine dry if you will not use it for a long time. Empty remaining water from removable parts when the manual permits it. Keep the base away from sinks, wet counters, and splashes.
Source: storage.googleapis.com
When Should You Replace the Coffee Maker?
Replace the coffee maker when the leak comes from an internal area and repair costs approach the cost of a new unit. Replacement also makes sense when the housing, cord, plug, or heating system shows damage.
A repair may be reasonable when the machine is expensive, fairly new, under warranty, or has a simple replaceable part. Ask the manufacturer for the exact part and repair instructions.
Do not choose a part by appearance alone. Reservoirs, carafes, baskets, and valves can look similar but differ in shape, size, and fit. Use the model number printed on the machine or in the manual.
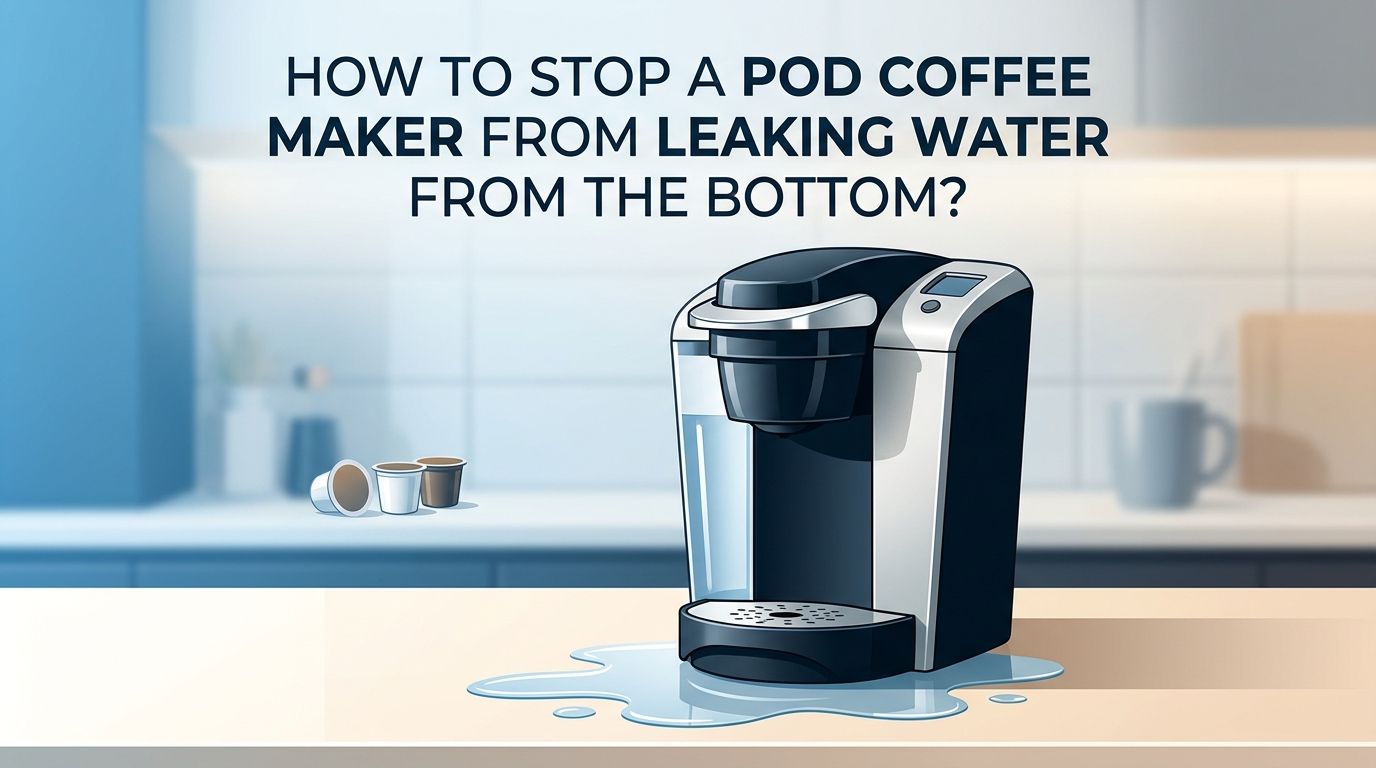
Source: morningdripvault.com
Frequently Asked Questions
Can I still use a coffee maker that leaks a little?
No. A small leak can grow without warning and may reach electrical parts. Unplug the machine and find the source before using it again.
Why does my coffee maker leak only when it is brewing?
Brewing activates heat, water pressure, valves, and internal tubes. A weak seal or loose tube may stay dry while the machine is off, then leak when water begins to move.
Can vinegar fix a leaking coffee maker?
Vinegar may help remove mineral scale in some models, but it cannot fix a crack, split hose, or failed seal. Use only the cleaning method approved in the owner’s manual.
Why is water leaking from under my coffee maker after brewing?
Water may have overflowed from the filter basket, escaped through a carafe valve, or leaked from an internal part during the cycle. Dry the machine, then test the reservoir and inspect the brew basket before assuming the base is cracked.
Is a leaking coffee maker dangerous?
It can be. Water near a power cord, outlet, heater, or control board may cause shock, fire, or electrical damage. Unplug it and stop using it if water enters the base or if you notice heat, smoke, burning odors, or a tripped breaker.
Conclusion
A coffee maker leaking from the bottom most often has a cracked reservoir, faulty tank valve, blocked brew path, overflow, worn seal, or damaged internal tube. Start by unplugging it, identifying when the leak occurs, and testing the removable parts over a sink.
If the leak comes from inside the housing, reaches electrical parts, or continues after cleaning and reseating the parts, do not keep using the machine. Check the warranty or have the coffee maker repaired by a qualified service provider.