

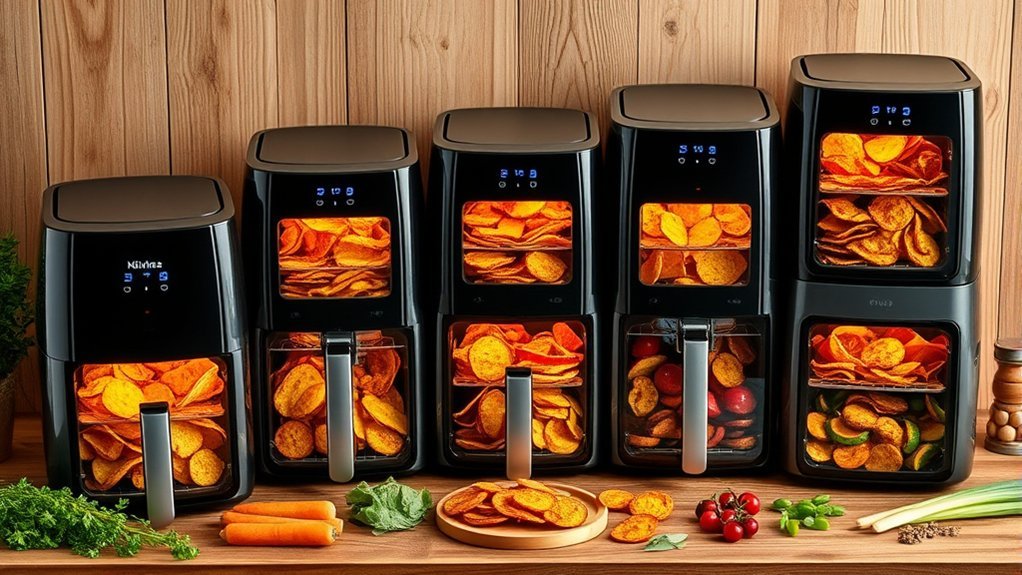
You can use an air fryer as a dehydrator if it has a low-temperature setting and steady airflow. In the United States, many air fryers include a Dehydrate function. Others may work at their lowest setting, often around 150°F to 180°F, but they may dry food faster, cook it, or brown it instead.
The basic method is simple: cut food into even pieces, remove excess moisture, spread it in one layer, use low heat, and check it often. Fruit, herbs, vegetables, and some cooked foods work well. Meat requires extra care because safe jerky needs specific heat and handling steps.

Source: storage.googleapis.com
Can You Use Any Air Fryer as a Dehydrator?
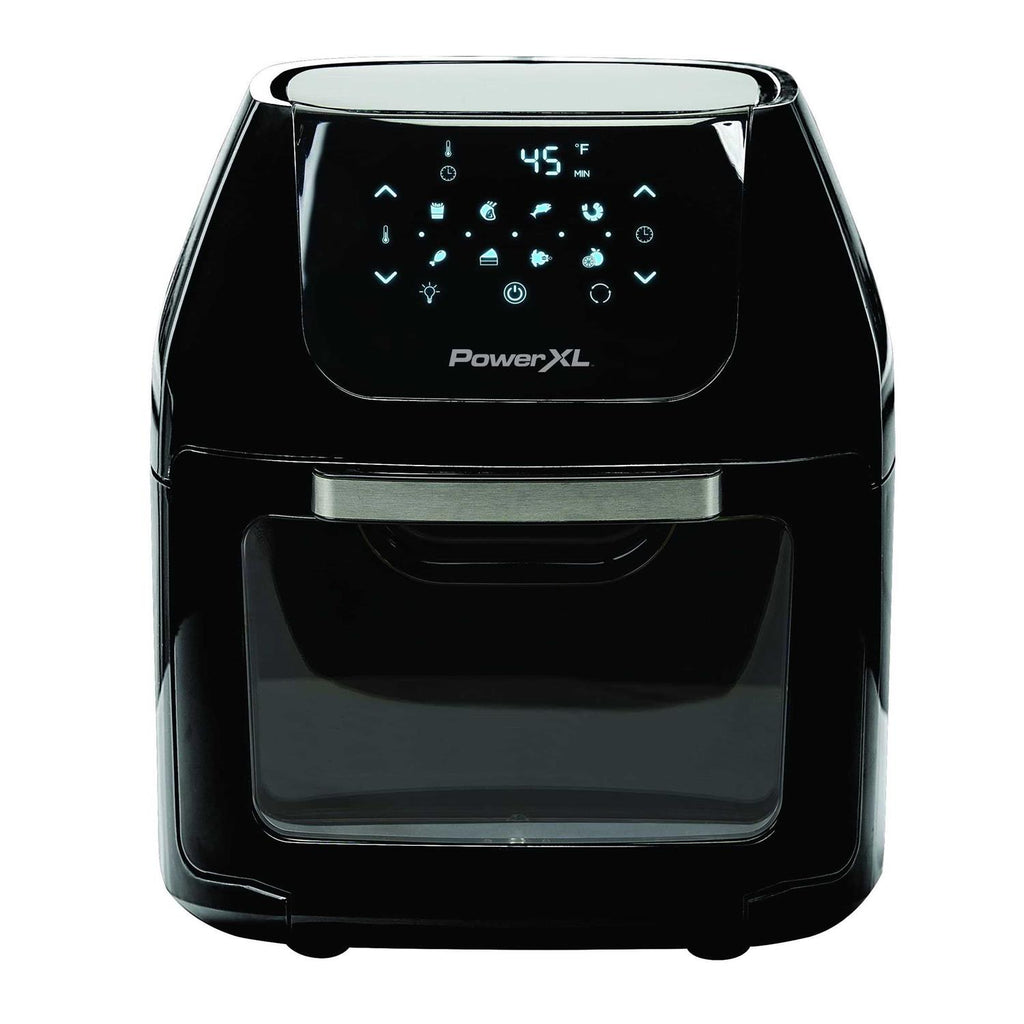
You can use an air fryer as a dehydrator only when its temperature, airflow, and design suit low-and-slow drying. A model with a dedicated dehydrate mode is the easiest to use, but it is not essential.
Air fryers dry food through two actions:
- Warm air removes moisture from the food.
- A fan moves humid air away from the food.
A food dehydrator is built for this task. It usually runs at a lower temperature for many hours and provides more space between trays. An air fryer has a smaller chamber and stronger heat in some areas, so food may dry unevenly.
Check your air fryer first
Look at the owner’s manual or control panel for:
- A Dehydrate setting
- A minimum temperature of about 95°F to 135°F
- A timer that runs for several hours
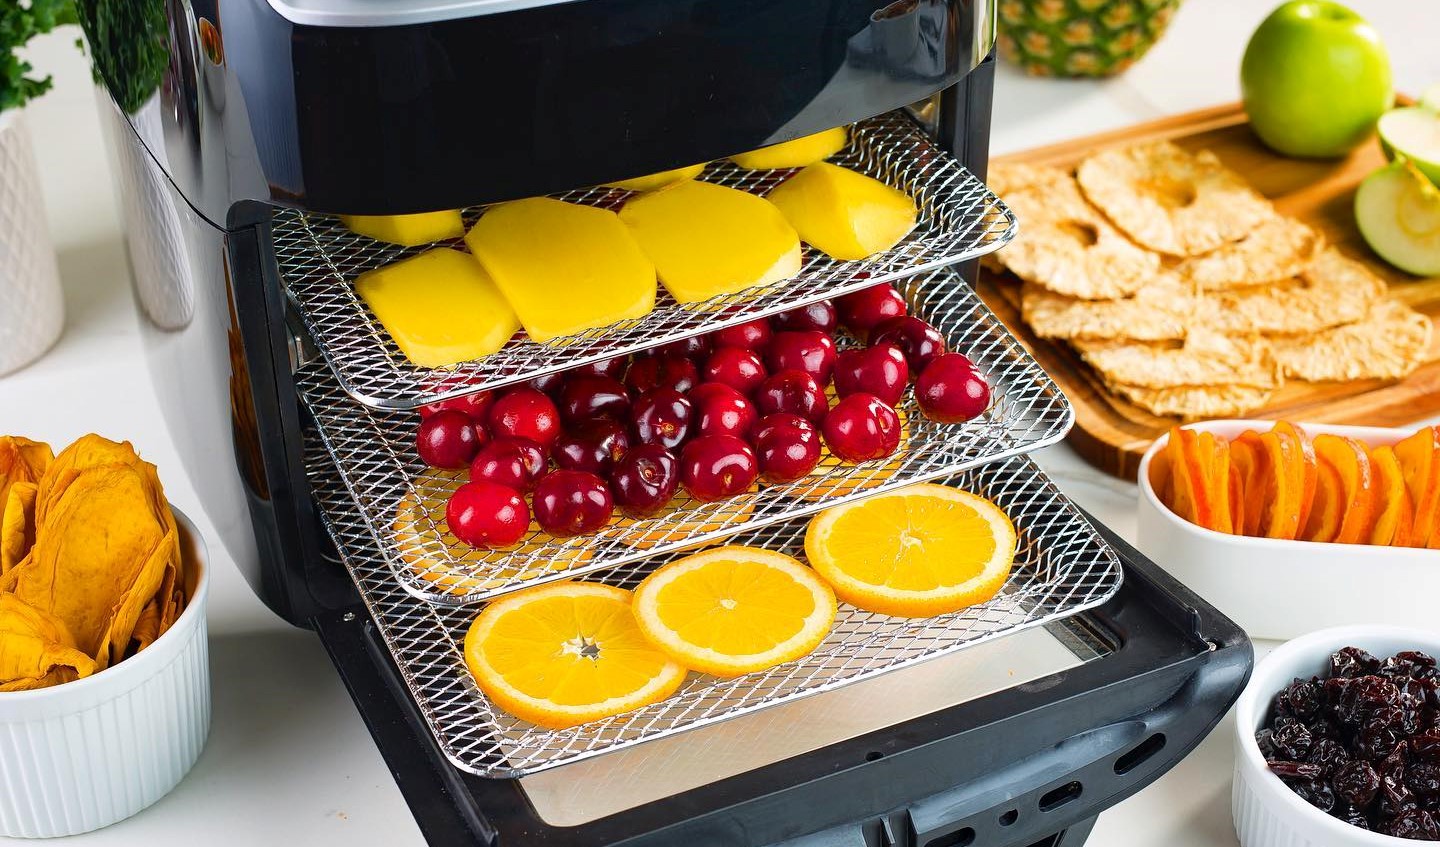
- Multiple racks or trays
- Instructions about leaving the basket, door, or drawer open
- A warning against using parchment, foil, or accessories
Do not leave the drawer or door open unless the manufacturer allows it. An open drawer can affect the fan, heating element, and safety controls.
If the lowest setting is 170°F or higher, the air fryer may still dry thin fruit slices or herbs, but it can also roast them. Watch the food closely and expect a different texture.

Source: bestbuy.com
What Foods Can You Dehydrate in an Air Fryer?
An air fryer can dehydrate thin slices of fruit, vegetables, herbs, mushrooms, and some cooked foods. It is less suitable for large, wet pieces because the small chamber may dry the outside before the center loses enough moisture.
Good choices include:
- Apples, pears, bananas, and strawberries
- Mango, pineapple, and peaches
- Kale and other leafy greens
- Mushrooms
- Bell peppers and onions
- Zucchini
- Fresh herbs
- Cooked pasta for backpacking or storage
- Cooked meat prepared as jerky with a tested food-safety method
High-moisture foods need more time. Thick slices also take longer than thin slices. Sugar-rich fruit may feel sticky even when it is fully dried.
Avoid drying:
- Dairy products
- Raw eggs
- Foods with mold or spoilage
- Thick meat strips without a validated safety process
- Wet batter or loose liquids
- Foods that can drip onto the heating element
A good first project is apple slices. They are easy to cut, easy to check, and less risky than meat.

Source: askgazebo.com
How to Dehydrate Food in an Air Fryer
Follow these steps for fruit, vegetables, herbs, and other suitable foods.
1. Wash and prepare the food
Wash fresh produce under cool running water. Dry it well with a clean towel. Extra surface water increases drying time.
Remove stems, pits, seeds, bruised spots, and tough skin when needed. For fruit, lemon juice can help slow browning, but it does not replace safe storage.
2. Cut pieces to the same size
Slice food as evenly as possible. Pieces between about ⅛ inch and ¼ inch often dry well in an air fryer.
Thin pieces dry faster. Thick pieces stay soft in the center and may need much longer. Consistent cuts also help prevent some pieces from burning while others remain wet.
3. Arrange food in one layer
Place the food in a single layer in the basket or on the air-fryer rack. Leave small gaps around each piece so air can move.
Do not stack slices. Do not crowd the basket. If food overlaps, trapped moisture can make it leathery or unevenly dried.
Use a mesh rack only if it is made for your air fryer. Loose parchment or lightweight paper can move into the heating element.
4. Choose the lowest suitable temperature
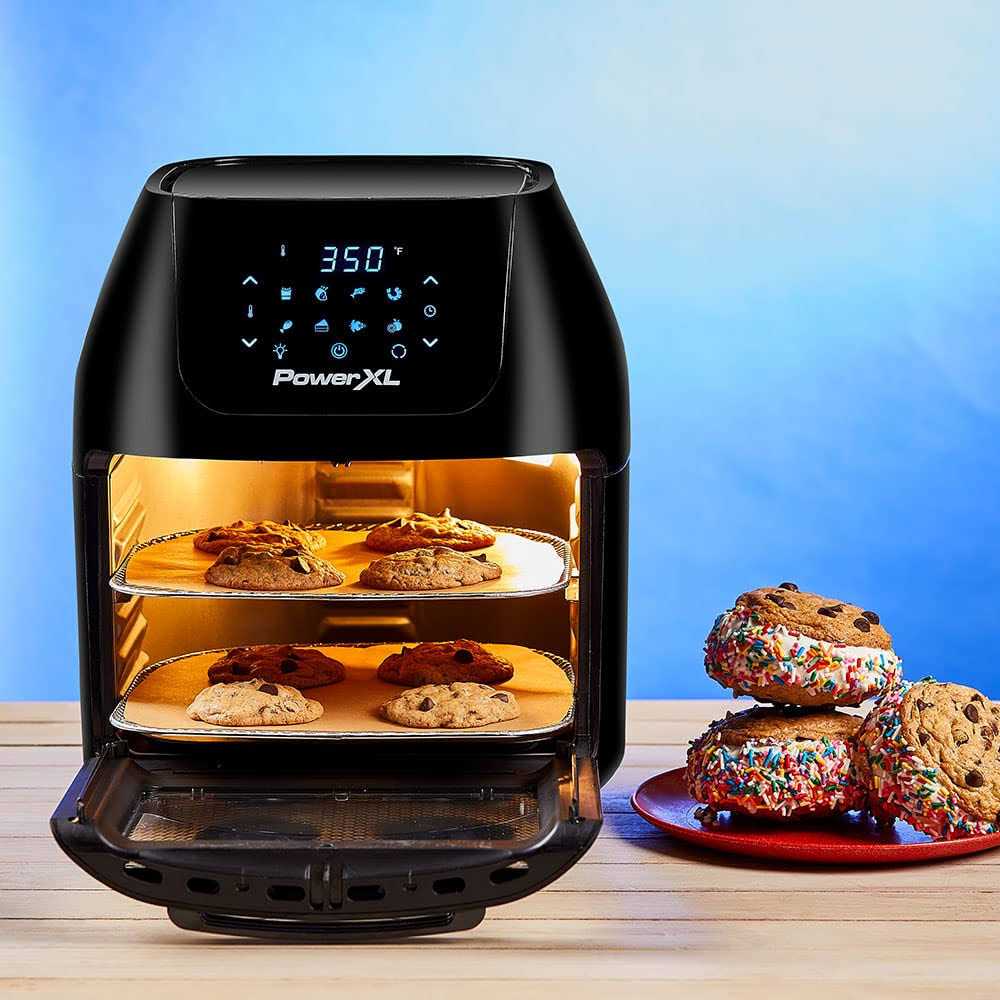
Use the manufacturer’s Dehydrate setting when available. If your air fryer does not have that setting, choose its lowest temperature and reduce the drying time.
As a general starting point:
| Food | Approximate temperature | Starting time |
|---|---|---|
| Herbs | 95°F–115°F | 2–4 hours |
| Thin fruit slices | 125°F–135°F | 4–8 hours |
| Vegetables | 125°F–140°F | 4–8 hours |
| Mushrooms | 125°F–140°F | 4–8 hours |
| Banana slices | 135°F–145°F | 4–8 hours |
These are starting ranges, not guarantees. Food thickness, water content, humidity, and air-fryer design can change the result.
5. Check and turn the food
Check food after the first hour, then every 30 to 60 minutes. Turn pieces when the bottom feels damp or when your manual recommends turning.
Remove small pieces as they finish. Larger pieces may need more time. Do not assume that every slice will finish at the same moment.
6. Cool the food before storing it
Let dried food cool completely on a clean rack or plate. Warm food can create condensation inside a container.
After cooling, place the food in a clean, airtight container. Check the container over the next day. If you see moisture or fogging, return the food to the air fryer and dry it longer.

Source: airfryeraid.com
How Do You Know When Food Is Fully Dehydrated?
The correct endpoint depends on the food. Dried food should feel dry enough for its intended use, but it should not always be brittle.
Use these tests:
- Fruit: leathery, flexible, and free of wet spots
- Vegetables: dry and firm, with little or no moisture inside
- Herbs: crisp and easy to crumble
- Mushrooms: dry and brittle
- Fruit leather: dry to the touch and not sticky on the surface
- Jerky: firm and bendable, with no moist center
Cut the largest piece open. The center should not look wet. A piece that bends does not automatically need more time, especially when it contains sugar.
For longer storage, moisture matters more than appearance. Food that looks dry on the outside but holds water in the center can develop mold.
Conditioning dried fruit
Dried fruit can benefit from conditioning. Place cooled fruit loosely in a glass jar for several days. Shake the jar once each day.
If you see condensation, dry the fruit again. If mold appears, discard it. Do not taste food that shows mold or signs of spoilage.
Store properly dried food in an airtight container in a cool, dark, dry place. For longer storage, use a freezer if the food and packaging allow it.
Source: flavorfulfoodideas.com
How to Make Jerky in an Air Fryer Safely
Meat is different from fruit and vegetables. Drying meat removes moisture, but it may not destroy all harmful bacteria unless the meat reaches a safe internal temperature first.
The USDA recommends heating beef, pork, lamb, and veal to 160°F and poultry to 165°F before or during the jerky process. Follow a tested jerky recipe and use a food thermometer.
A safer general process is:
- Choose lean meat and trim visible fat.
- Chill the meat until it is firm enough to slice.
- Cut strips evenly, usually no thicker than ¼ inch.
- Marinate the meat in the refrigerator.
- Heat the meat to the USDA-recommended temperature.
- Transfer it to the air fryer’s drying setting, if suitable.
- Dry until the strips are firm and bend without breaking apart.
- Cool the jerky before packing it.
Do not rely on color alone. Meat can look done before it reaches a safe temperature. A thermometer may be difficult to use with thin strips, so use a validated recipe that explains how to check the heating step.
For storage, follow the recipe’s instructions. Homemade jerky does not have the same shelf life as commercially packaged jerky. Refrigeration or freezing can provide an additional safety margin.
Source: michaelfilipellisdesign.com
Air Fryer Dehydrator Temperature and Time Guide
Temperature and time work together. Higher heat can shorten the process, but it may cook, brown, or harden the outside before the inside dries.
Use this table as a planning guide:
| Food | Preparation | Starting setting | Signs it is ready |
|---|---|---|---|
| Apples | Thin slices | 135°F–145°F | Flexible and leathery |
| Bananas | Thin slices | 135°F–145°F | Dry, firm, and slightly pliable |
| Strawberries | Thin slices | 135°F–145°F | Leathery, with no wet center |
| Bell peppers | Thin strips | 125°F–140°F | Dry and firm |
| Zucchini | Thin rounds | 125°F–140°F | Dry and slightly crisp |
| Kale | Small leaves | 125°F–135°F | Crisp and light |
| Herbs | Small sprigs or leaves | 95°F–115°F | Crisp and crumbly |
| Mushrooms | Thin slices | 125°F–140°F | Brittle and dry |
These ranges are not a substitute for your air fryer’s manual. The heating element may cycle on and off, and some air fryers run hotter than their display suggests.
If your air fryer starts at 170°F, use very thin slices and inspect them often. This setting may work for quick drying, but it is more likely to brown fruit or cook vegetables.
Source: bigbargainmart.com
Common Problems and How to Fix Them
The food is still soft inside
The pieces may be too thick, too close together, or not dry enough. Cut future batches thinner, spread them out, and continue drying in short periods.
The food burns before it dries
The temperature may be too high. Lower the setting if possible. If the lowest setting is still high, check the food often and use thinner pieces.
Some pieces finish before others
Uneven cuts cause uneven drying. Remove finished pieces as needed and cut the next batch more carefully.
The food becomes tough
High heat and long drying can create a hard outer layer. Use a lower temperature, cut thinner pieces, and avoid over-drying.
The food sticks to the rack
Sugary fruit can stick as it dries. Use a compatible dehydrator sheet or rack liner only if your air-fryer manual permits it. Do not cover the entire basket if doing so blocks airflow.
The air fryer stops during the process
Some models have short maximum cooking times or automatic shutoff features. Restart the cycle according to the manual. Do not use an extension cord unless the manufacturer specifically permits it.
The food develops mold in storage
The food likely retained too much moisture, was stored while warm, or was exposed to damp air. Discard moldy food. Dry future batches longer, cool them fully, and use a clean airtight container.

Source: michaelfilipellisdesign.com
Air Fryer Versus Food Dehydrator
An air fryer is useful for small batches, but a food dehydrator is usually better for frequent or large-scale drying.
| Feature | Air fryer | Food dehydrator |
|---|---|---|
| Best use | Small batches and quick projects | Large batches and regular use |
| Temperature control | Varies by model | Usually designed for low heat |
| Airflow | Often strong and concentrated | Made for long, gentle drying |
| Tray space | Limited | More usable drying area |
| Drying consistency | Can vary across the basket | Often more even |
| Counter space | Usually already owned | Requires another appliance |
Choose the air fryer when you want to dry a small amount of food without buying another appliance. Choose a dehydrator when you preserve produce often, need several trays, or want more consistent results.
Source: storables.com
Safety Rules for Air-Fryer Dehydration
Keep these rules in mind:
- Read the manual before using a low-temperature or Dehydrate setting.
- Keep the air fryer on a stable, heat-safe surface.
- Do not block the air intake or exhaust.
- Keep loose paper away from the heating element.
- Never dry spoiled food.
- Use extra care with meat, poultry, and seafood.
- Use a food thermometer for the heating step in jerky recipes.
- Cool food before sealing it.
- Check stored food for moisture, mold, and unusual odors.
- Do not taste food that may be spoiled.
The National Center for Home Food Preservation provides tested guidance for drying foods at home. Its methods are more reliable for long-term storage than guessing from appearance alone.

Source: solobaking.com
Frequently Asked Questions
Can I dehydrate food in an air fryer without a Dehydrate setting?
Yes, if the air fryer has a low enough temperature and the manual permits extended use. Use the lowest suitable setting, keep food in one layer, and check it often. A high minimum temperature may cook or brown the food instead of gently drying it.
Do I need to leave the air fryer door open?
Usually no. Leave the door or drawer open only if the manufacturer specifically says it is safe. Many air fryers are designed to operate closed, and changing the airflow may affect performance or safety.
Can I use parchment paper when dehydrating?
Only use parchment or a liner approved for your model. It must not block airflow or move into the heating element. A loose sheet can become a fire hazard.
Is air-fryer-dried food safe at room temperature?
It can be, when the food is properly dried, cooled, and stored. The risk depends on the food, remaining moisture, storage container, and storage time. Meat requires stricter handling than fruit or herbs.
Why does my dried fruit turn brown?
Browning can come from oxidation, sugar, or heat. Use a lower setting, slice the fruit evenly, and treat browning-prone fruit with lemon juice if desired. Browning does not always mean the food is unsafe, but burnt areas may taste bitter.

Source: airfryeraid.com
Key Takeaways
- An air fryer can dehydrate small batches when it has low heat and good airflow.
- Use thin, even pieces and keep them in one layer.
- Start with low heat and check food often.
- Judge doneness by texture and by checking the center.
- Cool food before storing it.
- Treat jerky as a food-safety project, not just a drying project.
- A food dehydrator is better for large batches or frequent use.
Conclusion
Using an air fryer as a dehydrator works best for small amounts of fruit, vegetables, herbs, and mushrooms. The process depends on low heat, steady airflow, even slices, and patience.
Start with apple slices or herbs. Learn how your model handles low temperatures before trying more demanding foods. For jerky, follow USDA safety guidance and a tested recipe rather than relying on appearance alone.